
How to Break Down a Clearcut for Oregon Blacktail Deer
Most hunters glance at a clearcut and drive on. Here's how to actually break one down: the six…
Articles
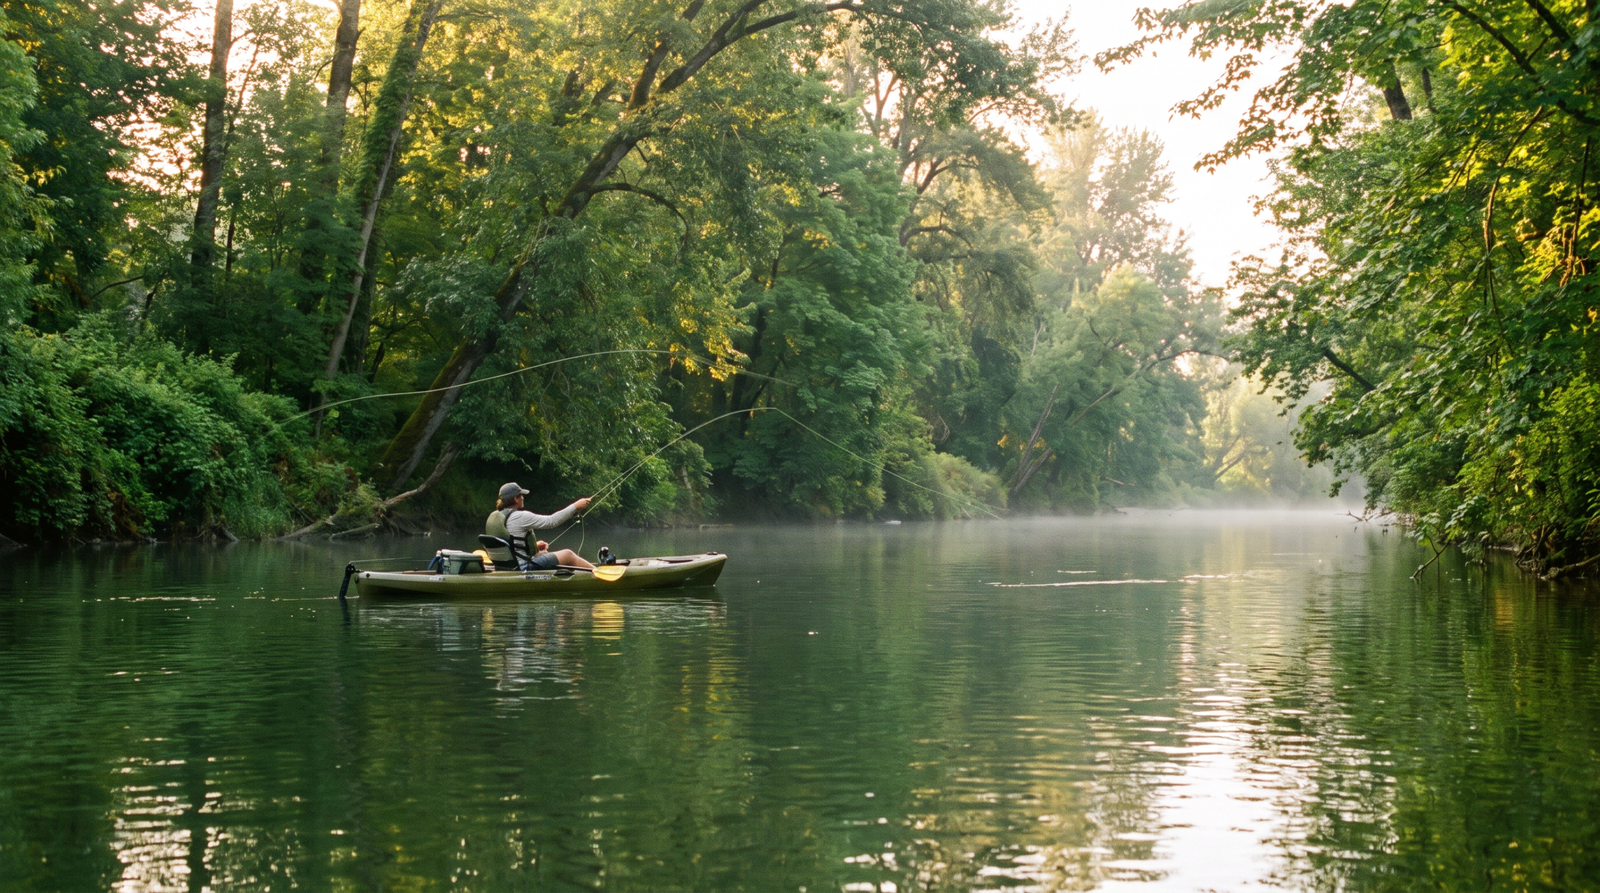
Willamette River bass fishing is one of the most underrated fishing opportunities in Oregon. If you Google “Oregon bass fishing” right now, here is what you will find: Henry Hagg Lake, a few coastal lakes, maybe a paragraph or two about the Willamette River, and then nothing. No tactics, no access points, no actual information about how to fish it. Just a mention that bass exist there, as if that is supposed to help you.
Meanwhile, the Willamette River is one of the best smallmouth and largemouth bass fisheries in Oregon, and maybe the best river bass fishery in the entire state, and most Oregon anglers walk right past it on their way to the trout section. We are not entirely sure why this is. The bass are there. They are aggressive. They hit the wacky worm like they have a personal grudge against it. You can float 12 miles through central Oregon wine country and catch fish all day long. And yet somehow the internet acts like this river does not exist for bass.
So we are going to fix that.
This is everything we know about float fishing the Willamette for smallmouth and largemouth: where to access it, how to read the water for holding fish, how to rig the wacky worm correctly, and how to match colors to what is happening with the water. Some of this comes from doing it wrong first. Which, honestly, is the brand.
The Willamette holds both smallmouth bass and largemouth bass, and depending on where you are on the river, you will find one, the other, or both in the same stretch.
In particular, smallmouth are the more prevalent species in the moving-water sections. The main channel runs and rock-laden stretches where the current does something. Smallmouth love current. They position themselves where they can ambush food without fighting the river to do it. They are also pound-for-pound one of the most aggressive, most entertaining freshwater fish you can catch in Oregon, and they make up for their smaller average size by fighting like they are significantly larger than they are.
By contrast, largemouth show up in the slower sections, the sloughs, the eddies, and the backwaters where the current backs off. They also stack up around structure, logs, overhanging trees, brush, docks, and they tend to hold tighter to cover than smallmouth do.
On a float trip, you will typically catch both. You do not need to pick a lane between them. Read the water correctly and the right species will be in the right spot doing what they do.
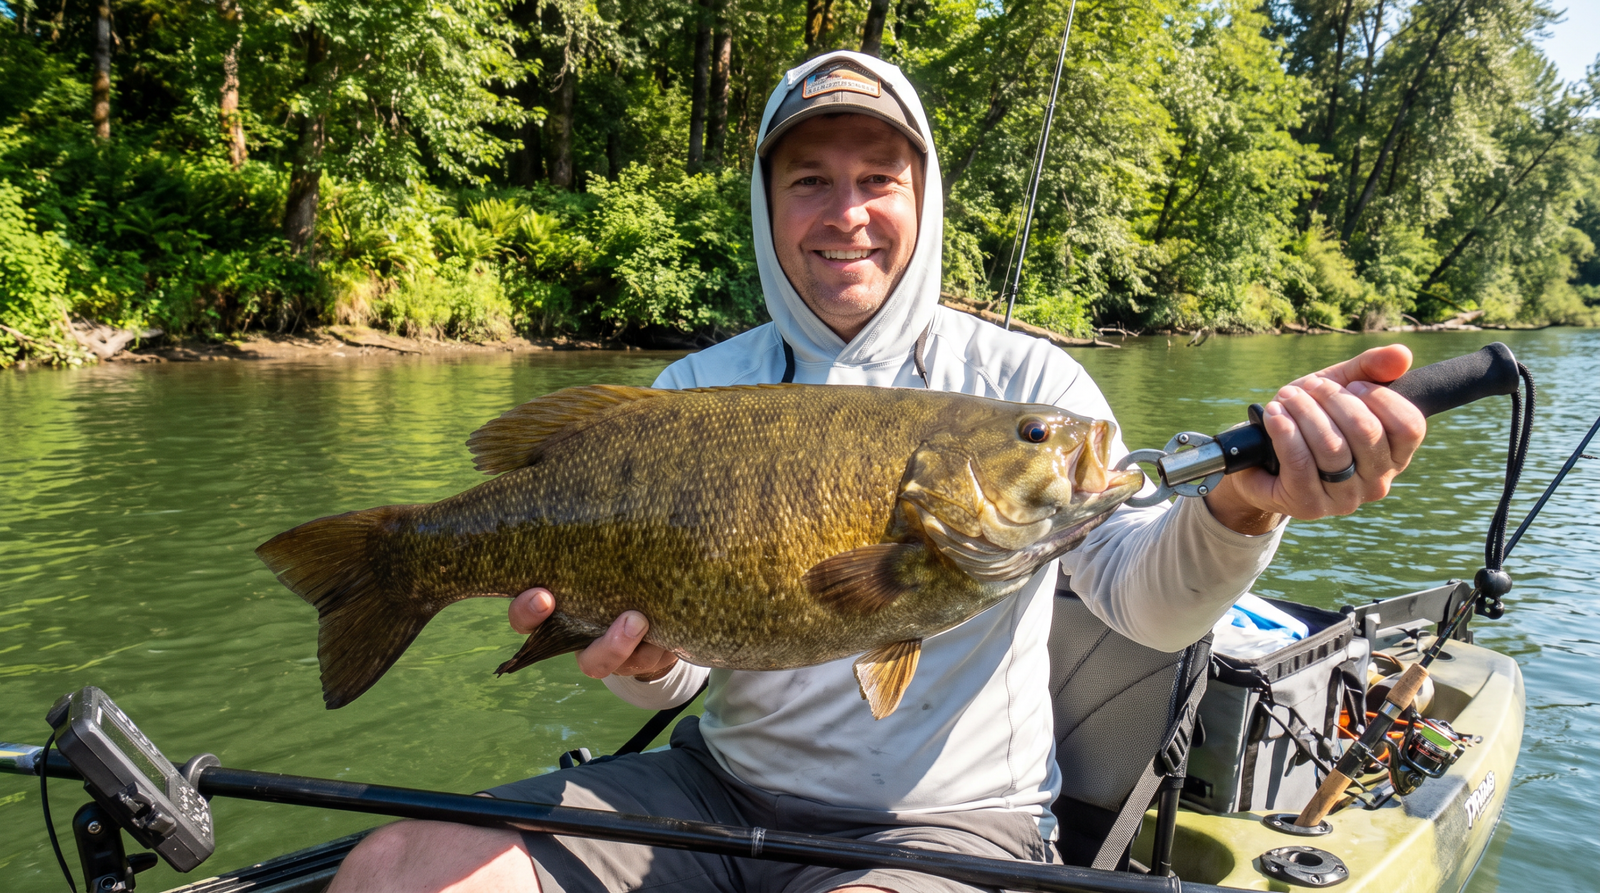
The stretch from Independence to the Wallace Marine Park area in West Salem is where we have done most of our floating, and it is a genuinely great piece of river for bass. Here is what we learned the hard way so you do not have to.
The full Independence to Wallace Marine float is approximately 12 miles on the water, and that is the straight-line distance, not counting the times you paddle into sloughs, circle back around islands, and fish your way in and out of side channels. Add those in and you are probably looking at 14 miles or more. Your arms will hate you for it by mile eight, and you will be too tired to fish the back half of the trip the way you want to.
Our recommendation: do not do the full float unless you specifically want the workout. Break it into sections.
The better option if you want a focused bass-fishing float rather than an endurance event: launch from Independence and pull out around the Highway 22 area. There is a parking spot on River Road on the north side of the Highway 22 bridge, look for the stairs that go down to the water. That stretch is roughly six miles and puts you through the best holding water in the upper portion of the float, which is where we caught most of our fish.
Alternatively, you can put in near the Highway 22 access and float to Wallace Marine, which is approximately the same distance and covers different water in the lower stretch closer to Salem.
Access points to know:
For all of this, you need a kayak, canoe, or drift boat. You can bank fish the Willamette in places, but the best holding water is mid-river and accessible only by floating past it. The kayak gives you the ability to position quietly and drop your bait right on the structure without spooking fish with a noisy approach. A drift boat works well for the same reason, quiet and maneuverable, and you can anchor in the current to work a piece of water instead of floating past it.
This is the part that most bass fishing guides skip. Before you launch, spend time with a good e-scouting session on Google Earth and OnX to map the bends, islands, sloughs, and backwater areas along your planned float. The structure that holds bass is visible from satellite imagery before you ever put the kayak in the water. It is worth an hour at your desk before you make the drive.
In fact, bass are not randomly distributed through the Willamette. They use specific types of water for specific reasons. The same logic applies here as it does to every river bass fishery. They are looking for places where they can hold in slower current and ambush food moving in faster current. Your job is to find those places before you get to them so you are already set up to fish when you drift into range.
Here is the specific structure worth targeting:
Current seams. This is the most reliable producer on the river, full stop. A seam is the boundary between fast water and slow water. The line where the main current meets a slower eddy, the inside of a bend, or the pocket behind an obstruction. Bass sit on the slow-water side of that line facing into the current, waiting for food to drift past. You can see the seam on the surface in most cases. The water texture changes, the current line is visible, sometimes there is a line of foam.
Additionally, the technique that works here is dropping your worm right at the edge of the fast-water side of the seam and letting it sink. The worm will drift slightly with the current as it falls, moving naturally into the slower water where the fish is sitting. The strike almost always comes on the drop. This is exactly how Eli caught the first fish of the day on our float, worm at the seam, let it sink, bass banged it before it hit bottom.
Under tree overhangs and downed timber. Largemouth in particular park themselves under overhanging trees and in the shade of any structure that extends over the water. The fish are there for multiple reasons: shade provides visual cover from overhead predators and ambush cover for the fish itself, the cooler water temperature in the shade is comfortable on warm days, and any insects or prey falling from overhanging vegetation become an easy meal.
For example, the technique here is to cast back up into the shadow underneath the overhang, as far back under the tree as you can get it without hanging up, and let the worm sink. The water under an overhanging tree is almost always slightly deeper than the surrounding water because the tree has protected that section from the current for years. You are dropping into a cooler, darker, deeper little pocket that a largemouth has decided is its living room. If there is a fish under there, it will tell you about it.
Rock beds and boulder runs. Smallmouth love structure, and rock beds on the Willamette give them exactly what they need, places to tuck in out of the current, ambush positions between rocks, and thermal stability since the rocks hold temperature. In the heavier current sections of the river where you hit boulder fields and rock runs, do not blow past them. Work the downstream side of individual rocks and rock clusters where the current swirls and drops in intensity. The fish will be right there.
Foam lines around pillars and bridge abutments. Any fixed structure in the river creates turbulence downstream of it, swirling water that collects foam on the surface and concentrates food. The bridge pillar, the old wooden dock post, the rip-rap wall, anything that breaks the current creates an eddy behind it. That swirling eddy is a trap for food and the fish know it. Cast up into the swirl and work the worm through it. One of the biggest fish we have caught on the Willamette came right out of the foam swirling around wooden pillars near a dock. It inhaled the worm on the first drop.
Inside bends and pools. The inside of any river bend is slower than the outside. Largemouth will stage in the slower inside water while smallmouth tend to work the outside bend where the current is stronger and the water is often undercut. In a pool, any section where the river bottom drops and the water noticeably deepens and slows, bass stack up, especially in warmer months when they need the thermal stability of deep water. Look for the color change in the water that signals depth and work your worm through it slowly.
Cut banks and brush piles. Any time the bank cuts inward and creates an undercut edge, there is likely a fish or two using it. Brush piles that extend into the water and under the surface are the same. The key is to get the worm actually into the structure, not just near it. Bass sitting in a brush pile are not going to move three feet out of their spot to chase a bait. You have to put it in their bedroom.
If you take exactly one thing away from this article, make it this: float the Willamette with a wacky-rigged worm and you will catch fish. This is not a theory. It is what produced 15-17 fish across our four boats in a single day on the river, including a four-pound smallmouth that peeled line like it meant it.
The wacky rig works in rivers because of how it falls. A traditionally rigged worm falls with one end leading. It looks like a swimming bait, somewhat. A wacky-rigged worm falls horizontally with both ends dangling and undulating as it sinks. The action is chaotic and does not look like anything you could describe exactly, which is why it looks like everything bass eat. The fall triggers the strike more often than not.
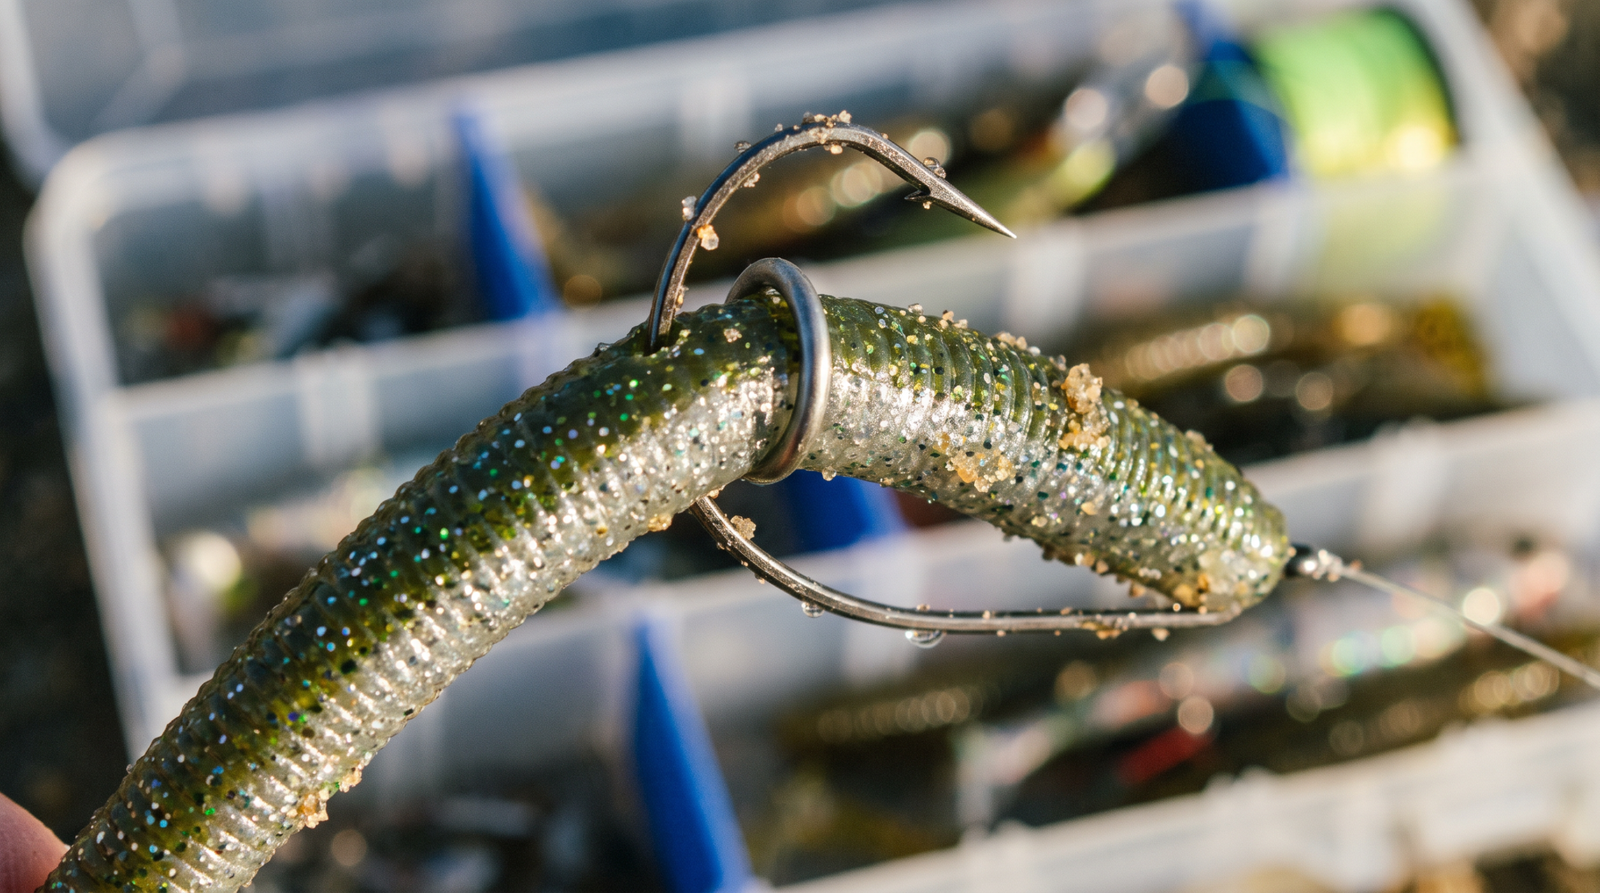
The worm itself: a five-inch finesse worm or senko-style worm (the Yum brand worked perfectly for us, but any similar bait in the same length range will do the same job) rigged through the middle. You are not hooking it Texas-style through the nose. You are putting the hook directly through the body of the worm at the midpoint so both ends hang free and move independently on the fall.
Hook choice: use a finesse hook, size 1 or 1/0. Nothing heavy. The whole point of the wacky rig is the slow, subtle fall, and a heavy hook kills the action by pulling one end down too fast.
The O-ring system: this is the upgrade that most people skip and then wonder why they run out of worms halfway through the day. An O-ring tool (a small plastic tube with a slot, costs about $5, comes with a bunch of rings) lets you slip a small rubber O-ring over the worm at the midpoint. Your hook goes underneath the O-ring rather than through the worm itself. When a fish hits and you set the hook, the worm slides up the line and out of the way. The hook connects with the fish and the worm is unharmed. Same worm catches the next fish, and the fish after that. We went through an entire container of O-rings on one float and barely went through any worms. The fish were not the reason we ran out of worms; trees were.
Weight: none. The whole point of the wacky rig is the unweighted fall. If you are fishing deep water or trying to get through a significant current, you can add a small nail weight in one end of the worm to get it to sink faster without disrupting the wacky action. It will fall at an angle instead of horizontally, which is still effective. But start unweighted and only add weight if you need it.
Here is the part of bass fishing that people guess at and then wonder why color matters. It does matter, not because bass are that picky, but because matching the right color to the water conditions means your bait is doing the most visible, natural-looking thing it can do in that specific light and clarity level.
In short, the basic rule: match the water. Clear water means the fish can see well, so subtlety wins. Dirty water means the fish are using their lateral line more than their vision, so contrast and flash beat subtlety.
Green with blue and silver sparkle flake. This was our MVP on the Willamette on multiple trips. The Willamette runs green-to-olive in most conditions, with moderate clarity. You can see two to three feet down in most stretches, not crystal clear but not muddy. In this water, a green-based worm with sparkle flake does something specific: the green base blends into the surrounding water color while the flake catches whatever light is filtering through and gives the worm a subtle flash that makes it look alive. This is the color that produced the most fish and the biggest fish for our group. Keep a good supply of it.
Pumpkin with gold or silver sparkle flake. Similarly, the second-best producer for us, particularly in sections where the water color runs more tan or brown from tannins or slight sediment. Pumpkin has enough warmth in the tone to stand out slightly against darker water without going full silhouette. The sparkle flake adds flash and movement. This is what Mike was running when he caught his fish, and it produced throughout the day.
Furthermore, watermelon is a solid choice in cleaner, clearer water. Watermelon is a translucent green that looks natural in clear conditions and does not spook fish that can see the bait clearly. If you hit a stretch of the river that is notably cleaner and clearer than the rest, a section after a clean tributary dumps in, or late summer low-water when visibility increases, watermelon is worth switching to.
By contrast, black or black/blue for dirty water, high water, runoff conditions. When the Willamette is running high and muddy after rain, clear-water colors disappear into the murk. Black creates a strong, dark silhouette that bass can detect even when visibility is minimal. Blue adds a hint of contrast in the UV spectrum that is visible to bass even in dirty water. If you cannot see six inches into the water, you are in black/blue territory.
Orange with flake — we tried it. It did not work. The theory behind orange is that it stands out and creates contrast, but in practice on the Willamette in summer conditions, the orange reads as unnatural rather than visible and the fish ignored it. Skip it until someone proves otherwise.
The shimmer principle: Notably, every productive color on our list has sparkle flake in it. This is not a coincidence. In any water that is not crystal clear, which describes most of the Willamette most of the year, the flake catches light at depth and creates a flash that plain colors cannot match. When you are looking at worms to buy, pick the ones with visible metallic flake mixed in, regardless of the base color. The base color is what it looks like from across the store. The flake is what catches fish.
Matching light conditions: Moreover, beyond water clarity, consider the overhead light. Bright sun overhead and the fish can see well, go natural, subtler colors, match the forage. Overcast sky means lower light penetration. This is when brighter colors and more aggressive flash work better. Early morning and evening low light, darker, more silhouetted colors that create contrast against the fading sky from below.
The wacky worm is the bread and butter, but it is not the only tool.
Hollow-body frog. When you find grass mats, lily pads, or surface vegetation, particularly in the slower backwater and slough sections, a weedless hollow-body frog is worth throwing. The key word is weedless. We made the mistake of throwing a frog with spinning propeller legs into vegetation, which predictably wound itself up in the weeds on every cast and was useless. A flat, hollow-body frog with a tucked weedguard slides over the top of vegetation and creates a surface disturbance that draws explosive strikes. Work it slow with occasional pauses. The strike will happen when you stop moving it. Even if you do not get a fish, you will see a surface boil that will make you want to throw it again immediately.
Rat lure. We had another boat running a rat-style lure along the same vegetation edges and got several surface strikes on it. The rat profile is bulkier than the frog and pushes more water, which triggers fish that are holding tight to cover. Worth having one in the box.
Small crankbait. Additionally, when you hit rocky sections with good current, a small shallow-running crankbait worked along the downstream faces of rock formations will produce smallmouth that are not in the mood to chase a sinking worm. Run it parallel to the rock structure, not perpendicular to it. You want the lure working in the zone where the fish are holding, not just passing through.
Ned rig. Finally, on the slow days when nothing is biting with urgency, a Ned rig, a short finesse worm section on a mushroom-head jig, almost no weight, is a confidence builder. It presents a small, unthreatening bait that sitting, lock-jawed fish will still pick up. If the wacky rig is not producing, downsize with the Ned rig and work it slower.
You do not need a lot. You do need the right stuff.
Kayak, canoe, or drift boat. A sit-on-top kayak is the most practical for a solo or paired float, easy to get in and out of, stable enough to stand on in calm sections if you want to, and maneuverable enough to position on structure. Get one with a milk crate or rod holder setup in the back so you can keep multiple rods accessible without them getting tangled.
Rod and reel. A medium-light to medium spinning rod in the 6’6″ to 7′ range is ideal for wacky worm fishing, sensitive enough to feel the subtle tap of a bass taking the worm on the fall, with enough backbone to set the hook and keep the fish out of structure. A 2500-size spinning reel spooled with 8-10 lb braided line and a 6-8 lb fluorocarbon leader is the standard setup. The braid gives you sensitivity and line management; the fluoro leader in clear water is less visible to the fish.
Sunscreen. Nonnegotiable. The Willamette in summer has no overhead cover for long stretches and the reflection off the water is brutal. Learn from experience and protect the gap between your shoes and your shorts, or you will be sitting on your couch for a week with blisters on your shins. Not speaking from personal experience. Okay, yes we are.
Waterproof bag or dry box. Phones, keys, and wallets go in a dry bag, always. The river will get into everything if you give it the chance.
Landing net. A small rubber-mesh net makes landing fish from a kayak dramatically easier and keeps the fish from thrashing off the hook at the boat. You will lose fish at the boat without one. This is a guarantee, not a risk.
Drinks and food. The float is longer than you think it is. A six-mile float sounds manageable until hour three when you realize you are both starving and your water bottle is empty. Pack accordingly.
The first time we tried to float the Willamette for bass, we launched from Independence with a plan to float to Kaiser Rapids Park. What I told the crew it was going to be: a casual two-to-three-hour float, two or three miles, fish the whole way. What it actually was: a 12-plus-mile paddle that turned into an endurance exercise by mile eight when everyone’s arms had given up on life.
However, we still caught fish. The wacky worm saved the day even though our judgment about distance did not. But Braden got sunburned so badly he could not wear socks for a week, my arms did not work right for two days, and we spent the last three miles mostly paddling with our rods stowed because we were too dead to fish.
The spots we caught most of the fish: the first six miles. The spots that were too far away and we could barely fish by the time we got there: the last six miles. This is why we now recommend the shorter section floats.
Go slow, fish hard, bring sunblock. The river is going to be there next weekend too.
In general, summer is the prime time, June through September. Bass are active, post-spawn, and actively feeding. The fish are out of the deeper winter holding areas and positioned on structure and feeding lies throughout the day. Early morning and evening are most productive in the heat of summer when midday water temperatures spike, but the Willamette’s moving current keeps the water oxygenated enough to produce fish throughout the day even in August. Spring (April-May) produces fish coming off the spawn in shallow water near structure. Fall bass fishing can be excellent before water temperatures drop.
No, but it helps significantly. You can bank fish from access points at parks and bridges, Wallace Marine Park in West Salem, Wheatland Ferry area, Buena Vista area, but the most productive holding water is mid-river and accessible only from a floating craft. A kayak opens up the entire river. If you do not have a kayak, start at a park with bank access and focus on any downed timber, overhanging trees, or current seams you can reach from the bank.
Check ODFW bass fishing regulations before you go, limits and regulations change and the ODFW website has current season-by-season information. As of our last trips, the Willamette has no minimum size limit for largemouth and smallmouth bass and a daily bag limit of five combined. Confirm this before your trip, especially if regulations have been recently updated in your section of the river.
Yes. An Oregon fishing license, available from ODFW or any sporting goods retailer. Bass are covered under the standard freshwater license. No additional tags required.
Yes. In fact, the Willamette is a mixed fishery, native coastal cutthroat trout coexist with the bass in many sections, and some stretches also have wild steelhead in season. If you are float fishing with a spinning rod for bass and you want to pick up trout on the same trip, a small inline spinner or a light jig fished near riffles and runs will produce cutthroat while your wacky worm handles the bass-structure water. Just make sure you know which sections have harvest restrictions on wild trout/steelhead and which are catch-and-release, because that varies by section and season.
The Willamette in the Independence-to-Salem stretch is a Class I river. No significant rapids, no dangerous hydraulics in normal summer flows. The current picks up in a few spots and the water is moving fast enough that you need to be aware of what is downstream before you drop into a faster section. In high water conditions (spring runoff, post-rain events), the river moves significantly faster and river reading skills matter more. In summer low water, the main hazard is shallow gravel bars that can ground a kayak. Wear a PFD.
The Willamette is right there. It runs through the middle of the Willamette Valley, past Salem, past Independence, past a dozen towns, and most Oregon anglers either drive over it without stopping or fish the trout sections and ignore the bass. That is your advantage. You are not competing with everyone who has read the same article about the same lake.
Specifically, you need a kayak, a spinning rod, a pack of five-inch worms in green with blue sparkle and pumpkin with flake, and O-rings. That is the core kit. Everything else is optional. Float six miles, fish the seams and the overhangs and the rock beds, work the wacky worm slow on the fall, and you will catch bass.
And when you find a spot that is absolutely loaded, a tree overhang over a deep pool right at a current seam, and you catch three fish out of it in four casts, do us a favor: keep that one to yourself. The rest of this you can share freely.
We will see you out there. And if you are fishing any of this with family who have never bass fished before, do what we do: hand them the rod at the right spot, let them figure out the hookset, and pretend you planned it that way.
That is just how we do it here at Failed Outdoors. If you want more of this, the podcast is at failedoutdoors.com. We have a Road Hunter blend with your name on it, and nothing goes better with a Saturday morning bass float than a cup of coffee you made at 5 AM in the dark like a reasonable adult.
More From the Blog
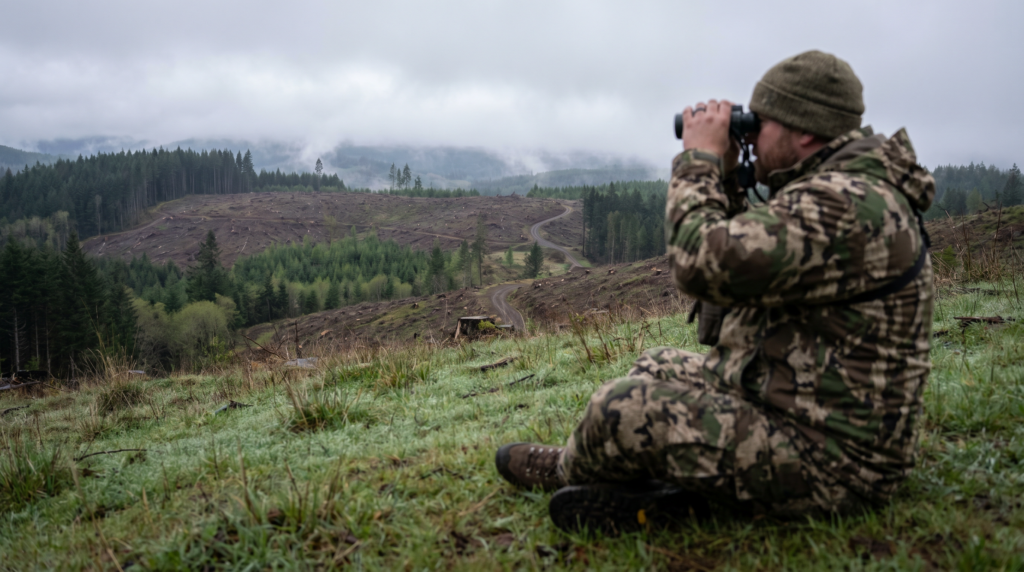
Most hunters glance at a clearcut and drive on. Here's how to actually break one down: the six…
E-scouting for hunters and anglers is the skill most people skip and then wonder why they keep coming…
Find Columbia blacktail deer in Oregon's coast range clearcuts and Cascade foothills. E-scouting tips, gear advice, and real…