
Blacktail Deer Hunting: Where to Find Oregon's Grey Ghosts
Find Columbia blacktail deer in Oregon's coast range clearcuts and Cascade foothills. E-scouting tips, gear advice, and real…
Articles
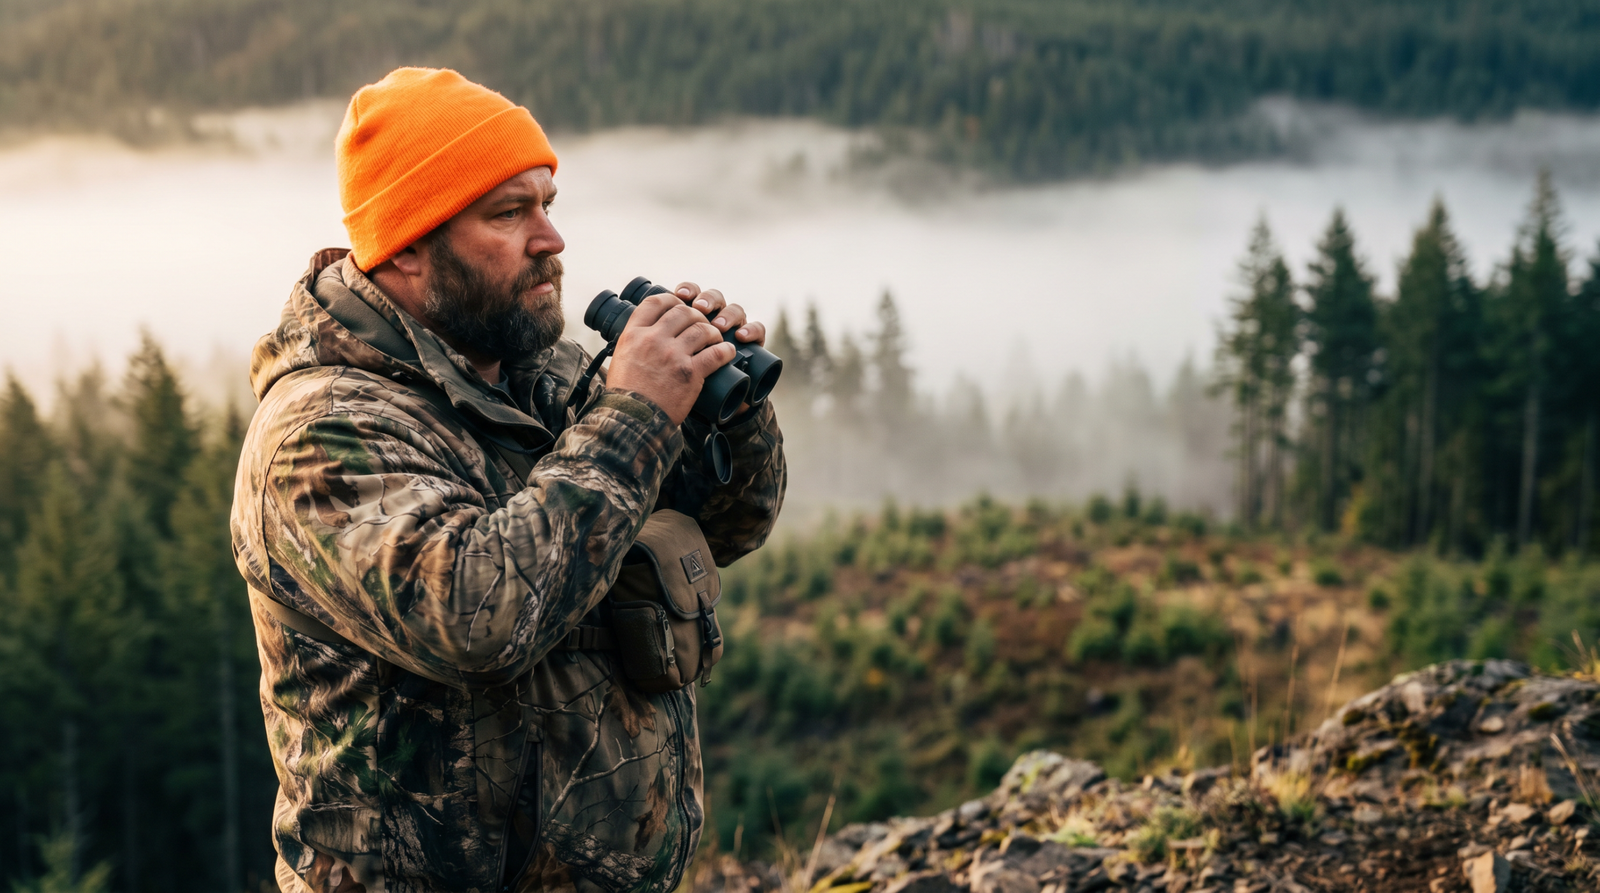
E-scouting for hunters and anglers is the skill most people skip and then wonder why they keep coming home empty. I know this because I skipped it for years. Driving roads, parking in the same pull-off for eight years, hoping something walked out. Or casting the same three spots on the same stretch of river because that’s where I went last time. We called it “going hunting.” A more accurate term would have been “scenic driving with a rifle in the truck.” [Stage direction: Brad slowly raises hand.] Guilty, your honor.
E-scouting changed everything for us. Not because it guarantees you will fill a tag or land a fish, nothing guarantees that, and if someone tells you otherwise they are selling you something, but because it replaces random hope with actual probability. You show up with two or three real spots already identified before you ever burn a tank of gas. The tools to do it are OnX Maps and Google Earth. You probably already have one or both on your phone. Here’s how to actually use them.
E-scouting is the process of using digital mapping tools to identify where animals or fish are likely to be, terrain reading from your couch before you ever set foot in the field. What it is not is just “looking at a map.” That’s what gets people a pretty picture and zero productive spots.
Doing it right means knowing what specific terrain features, cover types, and water characteristics you are looking for, and why those things hold animals. The method works for both hunting and fishing, and the underlying principle is identical for both: animals and fish go where their survival needs are most efficiently met. Find the food, the cover, and the transition between them, and you have found the animal. Everything after that is execution.
You need two tools. OnX Maps handles public land boundaries, property lines, wind data attached to specific pins, and migration overlays for deer and elk in many areas. Google Earth handles visual terrain reading, particularly historical satellite imagery, which is something OnX does not do as well. You are going to use both, and they each show you things the other one does not.
One other thing worth saying before we get into the method: e-scouting is not a substitute for boots on the ground. It is a multiplier. It gets you to the right neighborhood. Sign reading, wind and thermal reading, and actually working the terrain on foot is what puts you on the specific spot. Both are necessary and neither replaces the other.
Before you start drawing pins for “good deer spots,” you need to know where you can actually be. Pull OnX and overlay the property boundary layer. Look for BLM, state forest, and timber company land that allows public access. In Oregon specifically, there is significantly more of this than most hunters realize because they never bother looking. People assume private land is everywhere and public is either nonexistent or pressured to death. Both of those things can be true in the easy-to-reach spots and completely false two miles in.
Here’s a tactic worth understanding: look specifically for public land parcels that are surrounded by or accessible through private property. If hunting on that public land requires crossing or skirting private land, most hunters will not bother, which means when you do get permission to walk through, you have effectively found a piece of ground that almost nobody else is hunting. Low pressure on public land is worth more than any single terrain feature on heavily pressured ground.
The converse is also true. Before you commit to a spot, check what roads and access points lead to it. If there is a main line road with easy pullouts every half mile, assume everyone else has already been there. If you have to combine a half-mile walk on public with a route that is not obvious on the map, or that requires locating a specific gated road or skid trail to access, you have found a place where effort itself is the filter.
For blacktail deer and Roosevelt elk in western Oregon specifically, clearcuts are the bread and butter, but not all clearcuts are equal. The sweet spot is three to eight years post-harvest. Old enough for browse and new growth to come in and establish. Young enough that it has not grown back into a jungle an animal cannot move through comfortably or find forage in. Outside that window, a clearcut is either a barren moonscape with no food and no cover (too new) or thick impenetrable reprod that deer will travel through but not live in (too old). For a full breakdown on reading clearcut structure and sign, see our Oregon clearcut guide for blacktail deer.
This is where Google Earth’s historical imagery feature becomes worth its weight in gold. Pull up a piece of ground, then scroll the timeline slider back through the years. You can literally watch a cut come in, grow up, and mature over time. Instead of guessing what stage a cut is currently in, you know, because you watched it happen. A cut that was logged eight years ago that is now wall-to-wall thick reprod is a fundamentally different hunting situation than one logged three years ago that is still brushy and open. You can see this on the map before you ever drive out there.
What you are looking for inside or adjacent to clearcuts:
There is a specific combination of features that, when they all show up on the same piece of ground, tells you that you have found something worth serious time investment. The formula:
A saddle in the ridgeline, the low point between two high points, leading into a bench or flat area, adjacent to big timber on at least one side, opening into a clearcut with reprod and brush coming in, with water somewhere in the drainage below.
Here is why each piece matters. The saddle is the route. Animals crossing a ridgeline prefer saddles because they provide cover on both sides and require less energy than going over the top. The bench adjacent to the saddle is often where mature animals bed — they have a view in front of them, a breeze from above giving them scent information, and the saddle close enough to escape quickly. The big timber provides thermal cover and security. The clearcut with reprod provides the food. The water closes the loop — animals need all three: food, water, cover.
When you find a saddle that connects those elements, you have found a travel funnel. Animals do not randomly wander landscapes. They move efficiently between the things they need, along routes that minimize their exposure and maximize their ability to detect danger. A saddle connecting bedding terrain to feeding terrain with water in the drainage is not a coincidence — it is an address.
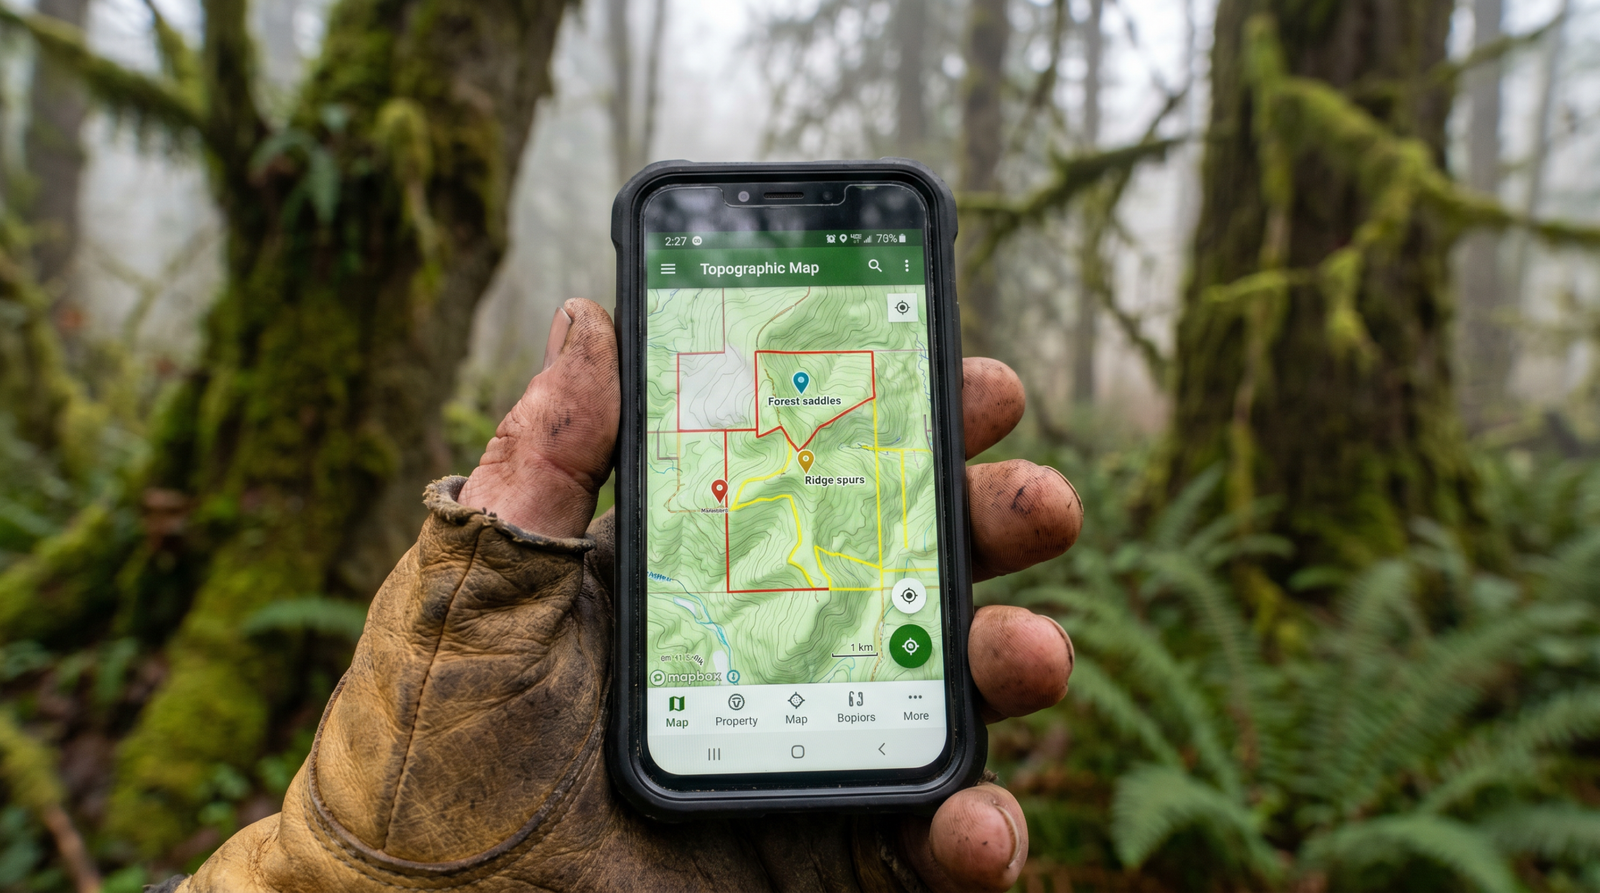
Benches. A bench is a flatter shelf partway up an otherwise steep hillside — a topographic pause in a slope. On a topo map they appear as contour lines that spread apart (the flat section) between tighter lines above and below. Deer and elk use benches to bed because they can see down the slope in front of them and smell anything approaching from the ridge above. A bench that also has brush or timber behind it for cover and a food source visible below it is a bedroom. When we have found beds on a scouting trip, they are almost always on benches.
Ridge spurs. A spur is a subsidiary ridge that branches off a main ridge and extends down toward a drainage or feeding area. Elk and deer use spurs as travel routes between drainages because they are more gradual than going straight up or down, they offer cover along the sides, and they are often overlooked by hunters who glass the main ridge and miss the branch. Look for fingers of terrain extending from a ridgeline down toward clearcut edges or riparian areas.
Here is an OnX feature that most hunters do not know exists: you can attach real-time wind data to any pin you have dropped in the app. Set this up for every glassing spot and every entry route in your priority areas. Then, on the morning of a hunt, pull those pins and check the wind direction from your driveway, before you ever start the truck. If the wind is wrong for your approach, you find out before you have driven an hour to discover it the hard way.
Additionally, the thermal picture in western Oregon is predictable once you understand the pattern. Mornings in the Coast Range and Cascade foothills: cold air sinks. Thermals pull downhill, into the draws and drainages. If you are approaching from above in the early morning, your scent is pulling toward the animals bedded below. This is how you blow out a spot before you ever get there. Afternoons: the reverse. Air heats and rises. Plan your approach so you are moving with the thermal, not fighting it. And if you are hunting a bowl, any terrain that is enclosed on three or four sides, understand that thermals in a bowl swirl. They pull scent in from every direction as the bowl heats and cools. A mature animal bedded in a bowl has essentially created a 360-degree scent alarm system around itself.
Moreover, wind on the approach matters as much as wind on the stand. We have had elk patterned, positioned correctly, and still come home empty because we walked a road into the area with a thermal pulling uphill toward the animals. We smelled elk before we even rounded the corner. By then, they already knew we were there.
For elk specifically, OnX has elk migration pattern overlays in many areas, documented travel corridors showing where animals historically move between seasons and through a unit. These are not a guarantee of where a specific animal will be on a specific morning, but they show general movement corridors worth cross-referencing against your terrain reads. If you have identified a saddle that connects two drainages and the migration overlay shows movement flowing through that same corridor, that convergence matters. That is worth a pin and worth boots on the ground to verify.
On patterning: e-scouting gives you the where, but patterning gives you the when. One of the most useful things you can do pre-season is observe animals at specific spots over multiple visits and note the days and times they appear. One of our hunting partners watched a group of elk for about two months before season and had them patterned on specific evenings of the week. When opener came, he knew where they were going to be and when. That is not luck. That is information you can only get by putting the time in.
In addition to your map work, trail cameras are a powerful verification tool once e-scouting has identified candidate spots. Set them where your terrain reads suggest animals are moving, on saddles, game trails through reprod, bench areas near clearcut edges. But there is one thing most hunters get wrong with trail cams: they go back to check them too often.
Furthermore, every time you walk in to check a camera, you leave scent, you make noise, and you change how animals use that area. If you are hunting pressured public land where animals are already alert, repeated intrusions will push them out of the pattern you are trying to document. The method that works: put cameras in during July when animals are patterned loosely and not associated with hunting pressure. Let them soak undisturbed through August. Go in once in September, one visit, quick, pull the card, check what is moving and when, then leave and do not go back until opener. That is the minimal-pressure approach that preserves the pattern you are trying to learn.
Once you have identified candidate spots from the map work, drop your OnX pins with notes. Label what you are expecting: “3-year clearcut, bench 200 yards in, saddle at the top with two game trails crossing.” When you get out there, the notes tell you what to look for and verify, and they tell you when you have found the wrong thing and need to move to the next pin.
Also, name the spots. Nicknames for specific features and areas help you communicate precisely with hunting partners and help you remember which piece of terrain held which animals from previous years. Plan your approach route. Where are you parking, how far are you walking, what is your entry angle relative to the prevailing morning thermal, are there any sections of road or trail that will make noise and need to be navigated quietly? We have spent time clearing approach paths to hunting spots, moving debris, trimming brush, so the entry on opening morning is quiet. You can identify the need for that kind of work on the map, then execute it on a summer scouting trip so it is done before the pressure matters.
In short, e-scouting narrows your search. It does not end it. Once you get to a location the map identified as promising, you are reading sign to confirm or eliminate it:
Everything above, find the food, find the cover, find the efficient route between them, applies directly to fishing. The translation is different, but the logic is identical.
In fact, fish are not randomly distributed across a river or lake. They position themselves strategically, based on one primary rule: they conserve calories while maximizing food intake. They sit in slower water and intercept food carried by faster water. That positioning is almost always on the edge of two different water conditions, what anglers call a seam. Your job with Google Earth and OnX is to find those seams before you ever step in the water.
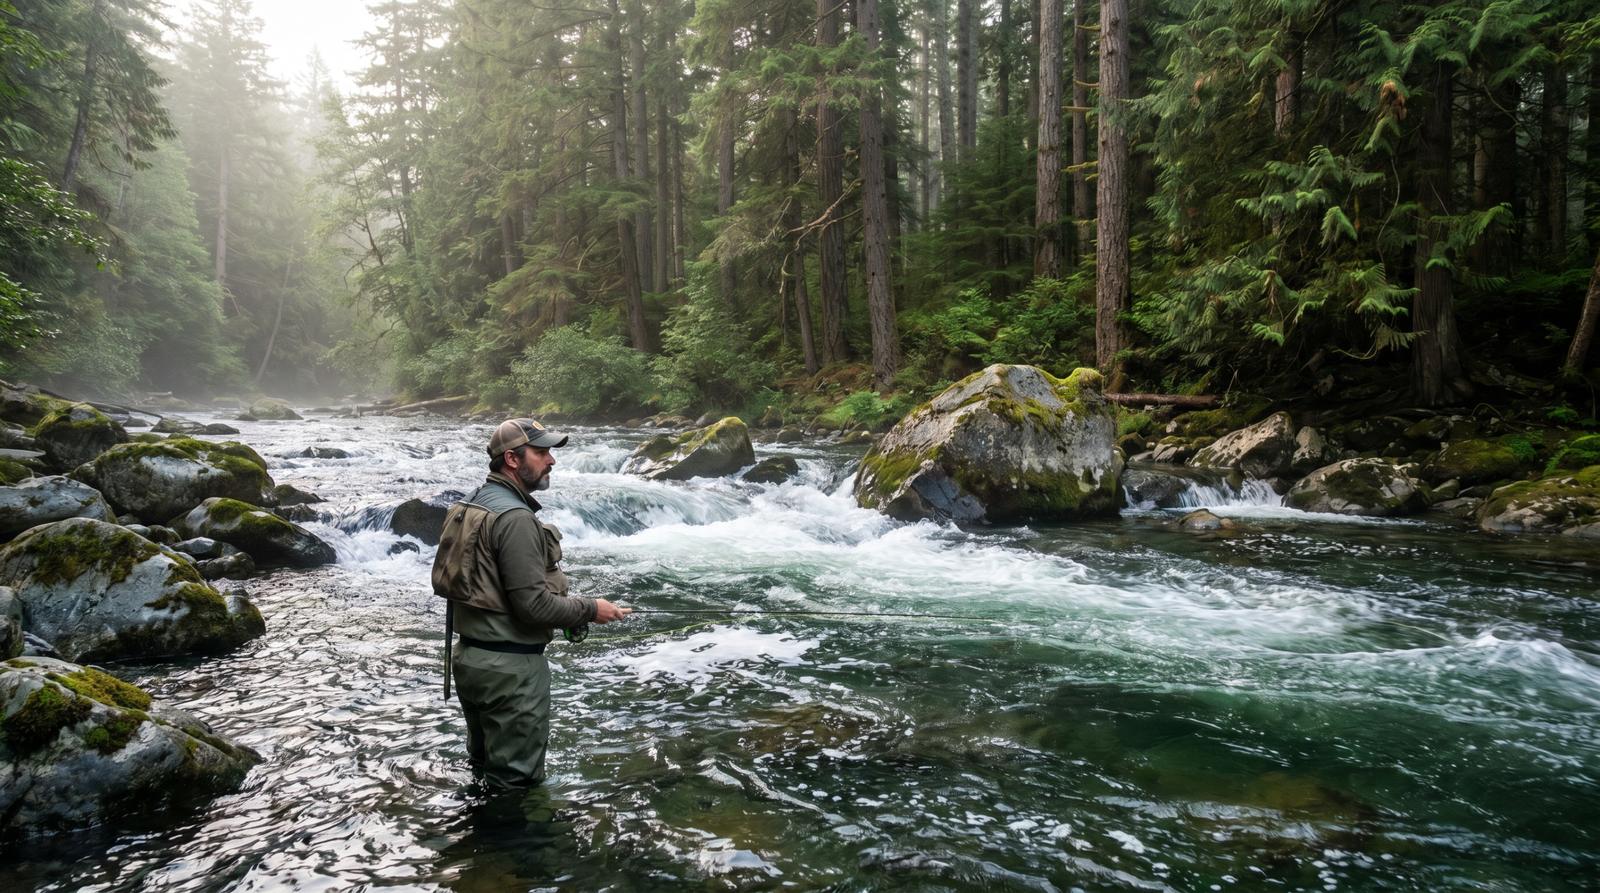
A seam is where two different water conditions meet. There are three types you need to know, and you can identify all of them on satellite imagery.
Google Earth is often better than OnX for fishing e-scouting because its satellite imagery is sometimes captured during low-water conditions, which means you can see actual bottom structure you would normally be looking at through several feet of moving water. Use this aggressively.
Rocky shoals that create pocket water appear as dark patches in the channel. Deep pools appear as consistently dark sections. Gravel bars and shallows appear as lighter areas. A section of river with obvious texture variation — light and dark patches alternating, has multiple seam and pocket opportunities.
However, one important caveat: OnX’s satellite layer can be too dark under heavy tree canopy. When that happens, switch to Google Earth, which often has better color calibration. Between the two tools, you will usually get enough visual information to identify the productive spots before the trip.
On a lake, overlay a topo map on Google Earth’s satellite view and watch the contour lines continue as they enter the water. The same contour intervals that describe land elevation describe underwater topography. Where a long underwater ridge runs out from shore and then drops off, fish use that ridge as a travel route between deep water security and shallow water feeding. Where a point extends out from the bank into deeper water, fish stage along that spine edge.
For lakes specifically, get local knowledge if you can about where the significant depth changes are. E-scouting a lake gets you 70 percent of the way there. A single pass with a fish finder gets you the rest.
The e-scouting method works on beach and surf fishing, with a specific visual cue: darker water visible in Google Earth’s satellite view. On a beach or shallow tidal area, the color of the water from above correlates directly with depth, lighter is shallower, darker is deeper. Surf perch and other coastal species stack in those deeper pockets and lanes just off the beach, then feed into the shallower swash zone.
Identify the darker water sections on the map before you get to the beach. Those patches and lanes are where you want to fish. Drop pins on the dark sections and work systematically from pin to pin instead of randomly casting into whatever water is in front of you.
Google Earth sometimes shows rivers at very low water levels, captured in late summer when flow is minimal. In those images, you can see the actual gravel bars, rock clusters, deep holes, and channel edges that would normally be invisible under a full river. The structure you see there does not move. Every rock, every gravel bar, every deep hole you identify in low-water imagery is still there when the river is up at fishable levels. You are basically seeing an X-ray of the river bottom.
I e-scouted a clearcut on the Coast Range that checked every single box. Clearcut in the right age window, bench at the right elevation, saddle above it connecting to a drainage on the back side, water at the bottom, reprod in the right spots. I went up there, set up to glass, and spent three hours watching absolutely nothing happen except my own breathing fogging up my binos. Packed up, started the walk back out, and a buck stood up from a brush pile about fifteen yards from where I had been sitting the entire time. Should’ve, would’ve, could’ve.
The spot was right. The deer was there the whole time. The variable I did not account for was the wind shift at mid-morning, which put my scent right where he was bedded. That is not a failure of e-scouting, that is a lesson in thermal management that no map tool will ever solve for you. The map gets you to the right neighborhood. Your wind awareness, your patience, and your scent discipline are what close the deal.
OnX is better for property boundaries, public land identification, wind data per pin, regulation overlays, and elk and deer migration data in many units. Google Earth is better for visual terrain reading, especially historical imagery showing how terrain has changed over years, and low-water satellite photography that reveals actual river bottom structure. Neither tool alone is complete. Use both.
For hunting, the earlier the better. If you are hunting blacktail or elk in Oregon in October and November, you should be e-scouting in June and July, identifying candidate spots, then putting boots on the ground during summer scouting trips to verify what the map showed you. For fishing, you can realistically do it the night before a trip to a familiar drainage. For a new piece of water or a major trip, spend time on the map weeks out.
Use Google Earth’s historical imagery slider to find a year when the water was lower or when the imagery was captured with better light conditions. Alternatively, OnX’s satellite layer sometimes shows different conditions. If both are too dark, identify the structural elements of the river, bends, islands, tributary inflows, rather than trying to see the bottom directly. Structure tells you where seams are even when you cannot see them.
Yes. Overlay a topo map on your Google Earth satellite view and read the underwater topography the same way you would read land terrain — look for ridges, drop-offs, points, and V-shapes on the lake bottom. Where underwater structure creates transitions from shallow to deep, fish will use those edges. A depth finder on the water fills in the gaps that topo maps cannot fully show.
Too young, a clearcut logged in the last year or two, is open, exposed, has almost no browse or cover, and holds almost no animals. Too old, a clearcut that is fully grown back into thick reprod, is dense, has limited browse remaining, and is more of a travel corridor than a living area. The three-to-eight-year window is where browse is established, cover is available but not impenetrable, and the transition zones between cut and standing timber are productive edges.
E-scouting identifies where to put the cameras. Trail cams verify whether your terrain read was correct and give you timing data. Place cameras in July on the spots your map work identified, let them run undisturbed through August, check once in September to pull the card and confirm movement, then leave the area alone until opener. Every unnecessary visit leaves scent and changes how animals move through the area.
Switch to Google Earth. The two tools use different imagery sources and one will often show better detail than the other for a specific piece of ground. If both are limited, fall back to the topo layer and read terrain features, saddles, benches, ridge spurs, drainages, rather than trying to see vegetation detail from above.
There is an entire category of hunters and anglers who spend years going to the same spots and wondering why they are not producing more results. Those spots were usually picked the first time for a mostly random reason, someone drove past it once, someone mentioned it, the road happened to pull out there. E-scouting is how you stop inheriting accidental spots and start building a real, intentional map of where the animals actually are.
You do not need to be a GIS expert. You need OnX on your phone, Google Earth on your computer, an afternoon, and the knowledge of what you are actually looking for on the map. Everything above is what you are looking for. Go find your two or three spots before the season, get out there and verify them with boots on the ground, and stop driving roads hoping something walks out.
We will see you out there. And if you do strike out on the first trip, call it a scouting trip, take notes, and go back. That is the difference between failing and learning. Around here, both count as a good day.
And hey, if you want to keep going down this rabbit hole with us, check out the podcast at failedoutdoors.com. There’s a Road Hunter blend with your name on it.
More From the Blog
Find Columbia blacktail deer in Oregon's coast range clearcuts and Cascade foothills. E-scouting tips, gear advice, and real…
Quick Navigation Willamette River bass fishing is one of the most underrated fishing opportunities in Oregon. If you…
Most hunters glance at a clearcut and drive on. Here's how to actually break one down: the six…